
Winterizing Your Home Without Calling a Contractor
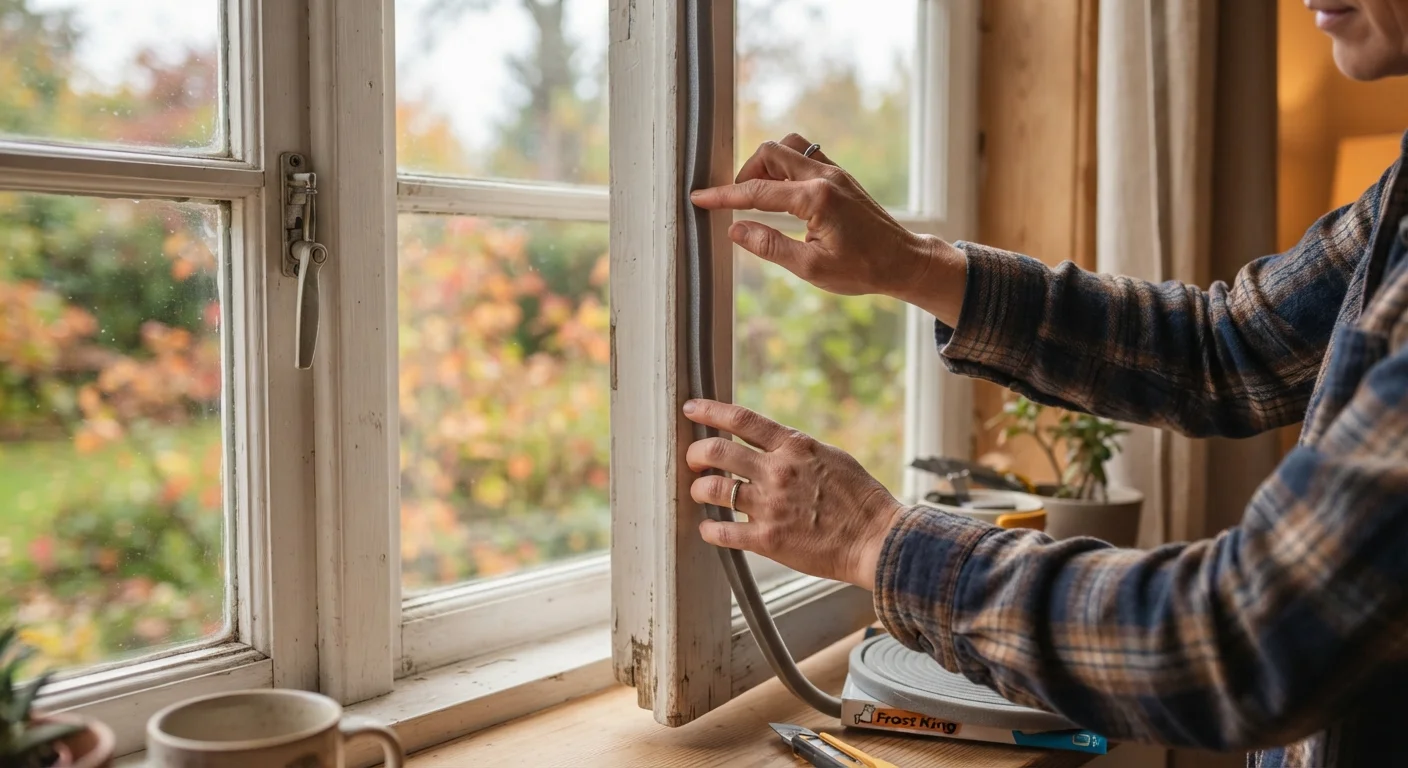
Photo credit: ResultsPoint.net | Find The Required Information
In this article
From pipe insulation to attic air sealing, these are the cold-weather prep tasks most homeowners can handle themselves.
Key Takeaways
- Air sealing windows, doors, and attic bypasses is one of the highest-impact steps you can take before winter.
- Insulating exposed pipes in unheated spaces can prevent costly freeze-related burst pipes.
- Reversing ceiling fan direction and servicing your heating system are quick wins that improve comfort and efficiency.
- Most winterizing tasks require only basic tools, caulk, weatherstripping, and foam insulation.
- Knowing which tasks to DIY — and which need a licensed professional — keeps you safe and compliant.
Why DIY Winterizing Is Worth Your Time
Cold weather doesn't just make your home uncomfortable — it can cause real structural and mechanical damage if you're not prepared. Burst pipes, ice dams, and heating system failures are among the most common and costly winter home issues in the US. Many of the tasks that prevent them are entirely within reach of an average homeowner with basic tools and a few hours.
This guide focuses specifically on the jobs that don't require permits, licensed trades, or specialized equipment. For a broader picture of what to inspect across all systems before winter arrives, see our room-by-room seasonal inspection guide. And if you want a full-year view of home upkeep priorities, the Home Maintenance Through the Seasons guide puts winter prep in context alongside spring, summer, and fall tasks.
What you will need
Tools and Materials You'll Need
Before you start, gather everything listed below. Having materials on hand before you begin saves multiple trips to the hardware store and keeps your momentum going through the full checklist.
Caulk gun with silicone or paintable caulk
Seals gaps and cracks around window frames, door casings, and where walls meet floors.
Self-adhesive weatherstripping
Compresses against door and window edges to block air infiltration when closed.
Pipe insulation foam sleeves
Wraps around exposed water pipes in crawl spaces, garages, and unheated basements to prevent freezing.
Expanding spray foam
Fills larger irregular gaps around pipes, wires, and joists where caulk won't reach.
Door sweep
Attaches to the bottom of exterior doors to block cold air, insects, and moisture from entering.
Attic hatch insulation cover
Insulates the pull-down attic hatch, one of the most overlooked cold-air entry points in a home.
Furnace filter (correct size for your unit)
Replacing a clogged filter helps your heating system run efficiently through peak heating months.
Do a Candle Test for Drafts
Hold a lit candle or incense stick near window edges, door frames, and electrical outlets on exterior walls on a windy day. Flickering flame or smoke indicates a draft. This simple method helps you prioritize exactly where to apply caulk or weatherstripping before buying materials.
Step-by-Step Winterizing Walkthrough
Work through these steps in order — the earlier tasks (air auditing and sealing) inform everything that follows, and completing them first makes the remaining steps more efficient.
Audit Your Home for Air Leaks
Walk the perimeter of every exterior wall, door, and window — indoors and out. Look for visible gaps where caulk has cracked or pulled away, daylight visible around frames, or areas where cold air is perceptible. Pay special attention to where different building materials meet: wood framing to brick, siding to window trim, and foundation to wall.
Also check interior attic access hatches and pull-down stairs, recessed light fixtures on top-floor ceilings, and the area around pipes and wires that pass through exterior walls — these are common but overlooked leak points.
Seal Windows and Door Frames with Caulk
For gaps narrower than about ¼ inch around window and door casings, caulk is your primary tool. Cut the caulk tube tip at a 45-degree angle, insert it in the gun, and apply a smooth continuous bead into the gap. Smooth the bead with a dampened finger and let it cure fully before painting. Use silicone caulk on areas exposed to moisture; paintable latex caulk works well for interior trim joints.
For gaps wider than ¼ inch, press foam backer rod into the gap first, then caulk over it. This gives the caulk a stable base and prevents cracking over time.
Replace or Add Weatherstripping on Exterior Doors
Open each exterior door and inspect the existing weatherstripping around the jamb (the door frame sides and top). If it's cracked, compressed flat, or no longer makes contact, peel it off and replace it with self-adhesive foam or V-strip weatherstripping. Cut it to length with scissors, peel the backing, and press firmly into the channel.
Next, check the door sweep at the bottom of the door. Slide a piece of paper under the closed door — if it pulls out with no resistance, cold air is getting through. Replacement door sweeps screw directly onto the door's face edge and take about 15 minutes to install.
Insulate Exposed Pipes in Unheated Areas
Pipes in unheated garages, crawl spaces, and unfinished basements are vulnerable to freezing once temperatures drop. Foam pipe insulation sleeves are pre-slit and simply snap around the pipe — no special tools needed. Measure the pipe's diameter before buying to ensure a snug fit.
Pay extra attention to pipes running along exterior walls or near foundation vents. For any gaps where pipes pass through uninsulated walls, use expanding spray foam to close the opening around the pipe without compressing the insulation sleeve.
Air-Seal the Attic Hatch and Accessible Bypasses
The attic floor is a major heat-loss highway. If you have attic access and feel comfortable doing so safely, the most impactful move is sealing air bypasses — gaps around electrical boxes, plumbing chases, and framing gaps where the attic floor meets exterior walls. Use expanding spray foam or fire-rated caulk for these areas.
The attic hatch itself is often uninsulated and poorly sealed. Attach self-adhesive foam weatherstripping around the perimeter of the hatch opening. For a pull-down stair unit, consider an insulated attic tent cover, which sits over the stairs from the attic side and dramatically reduces heat loss.
Service Your Heating System and Vents
Replace your furnace filter before the heating season begins — a clogged filter forces the system to work harder and can reduce indoor air quality. Check the filter size printed on the existing filter's frame and swap it out directly.
Walk through and open all heating vents that may have been closed during summer. Ensure furniture and rugs are not blocking supply or return vents, which restricts airflow and strains the system. If your heating system is due for a professional tune-up, schedule that separately with a licensed HVAC technician — this guide covers only the owner-serviceable filter and vent checks.
Reverse Ceiling Fans to Clockwise Rotation
Most ceiling fans have a small switch on the motor housing that reverses blade rotation. In winter, set the blades to spin clockwise at low speed. This pushes the warm air that collects near the ceiling down along the walls and back into the living space — a simple physics trick that can reduce the load on your heating system.
Turn the fan off, let it come to a complete stop, then flip the direction switch. Turn it back on at the lowest speed setting to avoid a downdraft that feels like a cold breeze.
Know When to Call a Pro
This guide covers DIY-safe tasks only. Work involving your furnace's gas components, electrical panels, structural insulation behind walls, or roofing should always be handled by a licensed contractor. Unpermitted or improperly done work can create safety hazards and affect your homeowner's insurance coverage. When in doubt, get a professional assessment first.
What to Watch For After You're Done
Once you've completed the walkthrough, do a final check on the coldest night of the first cold snap. Run your hand along sealed window frames and door edges to confirm no new drafts are perceptible. Visually inspect pipe insulation in the garage and crawl space. If you notice condensation forming on interior window glass, that's a signal that cold glass surface temperatures are still significant — secondary window film (an interior plastic film kit) can help in particularly drafty older windows.
Attic Insulation and Ventilation Balance
Adding attic insulation without preserving proper ventilation can trap moisture and promote mold growth. Before adding insulation, ensure your soffit and ridge vents are unobstructed. If you're unsure about your attic's current ventilation setup, consult a home energy auditor before proceeding.
Winterizing is not a one-time event. Add a reminder to your calendar to revisit these steps each fall — caulk degrades, weatherstripping compresses, and filters clog every season.

Author
Home Editorial Team
Home Editorial Team is the collective byline for our editorial team and contributor network. Articles published under this byline or an editorial pen name are researched, written, and reviewed according to our editorial standards for clarity, consistency, and independence before publication.
View all articles →