
Before You Sign: A Move-In Checklist for New Renters
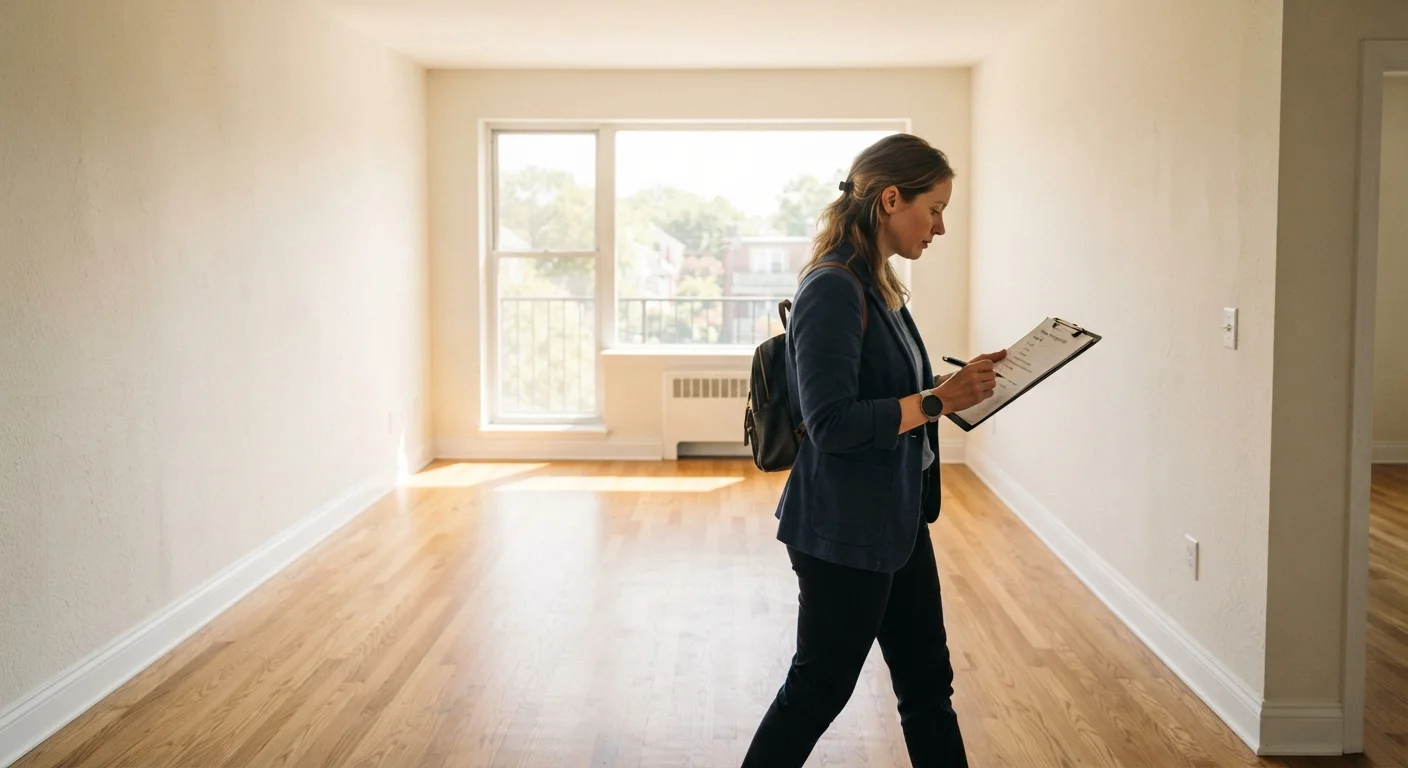
Photo credit: ResultsPoint.net | Find The Required Information
In this article
Walk through every room with this checklist to document existing damage, test systems, and protect your deposit from day one.
Key Takeaways
- Document all existing damage in writing and photos before moving a single item in.
- Test every system — plumbing, HVAC, appliances, locks — on move-in day, not after.
- A signed move-in checklist, shared with your landlord, is your best deposit protection.
- State laws govern how landlords must handle security deposits; knowing the rules helps you.
- Report any issues you discover in writing and keep copies of all correspondence.
Why This Checklist Matters
Moving into a new rental is exciting — but skipping a proper inspection can cost you hundreds of dollars when you move out. Landlords commonly apply security deposit deductions for damage that was present long before you arrived. Your defense is documentation: a thorough move-in inspection with dated photos and a written record signed by both parties.
This checklist walks you through every area of your unit systematically so nothing slips past you. For a broader look at your legal protections as a tenant, see Renter Rights Every Tenant Should Know Before Moving In, which covers habitability standards and deposit rules in detail. And when you're ready to understand exactly what landlords can and can't keep from your deposit, Security Deposits: How They Work, What Landlords Can Deduct, and How to Get Yours Back is essential reading.
Inspect Before You Unpack
Complete this inspection before bringing in furniture or boxes. Once your belongings are in a room, it becomes much harder to spot and photograph pre-existing damage on walls, floors, and fixtures. Even a 30-minute walkthrough on an empty unit can save you significant money at move-out.
Complete this inspection before bringing in furniture or boxes. Once your belongings are in a room, it becomes much harder to spot and photograph pre-existing damage on walls, floors, and fixtures.
Tools You'll Need
You don't need special equipment — just a few everyday items that make the inspection faster and more credible.
Smartphone with camera
Take timestamped photos of every issue found during the inspection.
Move-in condition form
Written record listing each room's condition, to be signed by both you and the landlord.
Phone charger or small lamp
Plug into each outlet to confirm it has power during the electrical check.
Flashlight
Illuminate dark corners, under-sink cabinets, and closets where damage is easy to miss.
Notepad or notes app
Record written observations in real time as you move through each room.
The Move-In Checklist
Work through each group below room by room. Note every finding — even minor scuffs or small stains — in writing, and photograph each issue with a timestamp visible. Ask your landlord or property manager to co-sign the completed checklist; retain a copy for yourself.
Before You Walk In
Walls, Floors & Ceilings
Kitchen & Appliances
Bathrooms & Plumbing
Electrical, HVAC & Safety
If Your Landlord Won't Sign
If your landlord refuses to co-sign the move-in checklist, send it to them via email immediately after your inspection and keep a copy of that sent message. A timestamped record you initiated — even without a reply — helps establish the unit's condition on move-in day. Never assume verbal acknowledgment is enough.
If your landlord refuses to sign or acknowledge the move-in checklist, send it to them via email or certified mail immediately after your inspection. A timestamped record you sent — even if they don't reply — helps establish what the unit's condition was on move-in day. For a full picture of the renting journey, see The Full Renter's Roadmap: From Application to Move-Out.
After the Inspection: What to Do Next
Once you've completed the walkthrough, take these steps to lock in your documentation:
- Compile your photos into a dated folder (cloud storage with automatic timestamps works well) and do not edit or delete any images.
- Submit your signed checklist to the landlord in writing — email is fine — and ask for written confirmation that they've received it.
- Report any habitability issues you discovered (broken locks, no hot water, pest evidence) in writing and request a repair timeline. Most states require landlords to address habitability concerns within a reasonable period.
- File everything — your lease, the checklist, all correspondence — in one place you can access quickly if a dispute arises later.
Your move-in documentation isn't just useful at move-out; it also serves as a baseline if maintenance disputes come up during your tenancy. The same attention to detail that protects renters also applies to homeowners — Seasonal Home Walkthrough: What to Inspect Before Each Season Changes shows how regular walkthroughs catch problems early.
This article is for general informational and educational purposes only. It is not legal advice. Renter laws vary significantly by state and locality. Consult a qualified attorney or tenant advocacy organization in your area for guidance specific to your situation.

Author
Real Estate Basics Editorial Team
Real Estate Basics Editorial Team is the collective byline for our editorial team and contributor network. Articles published under this byline or an editorial pen name are researched, written, and reviewed according to our editorial standards for clarity, consistency, and independence before publication.
View all articles →