
Before You Renovate: A Room-by-Room Assessment Checklist
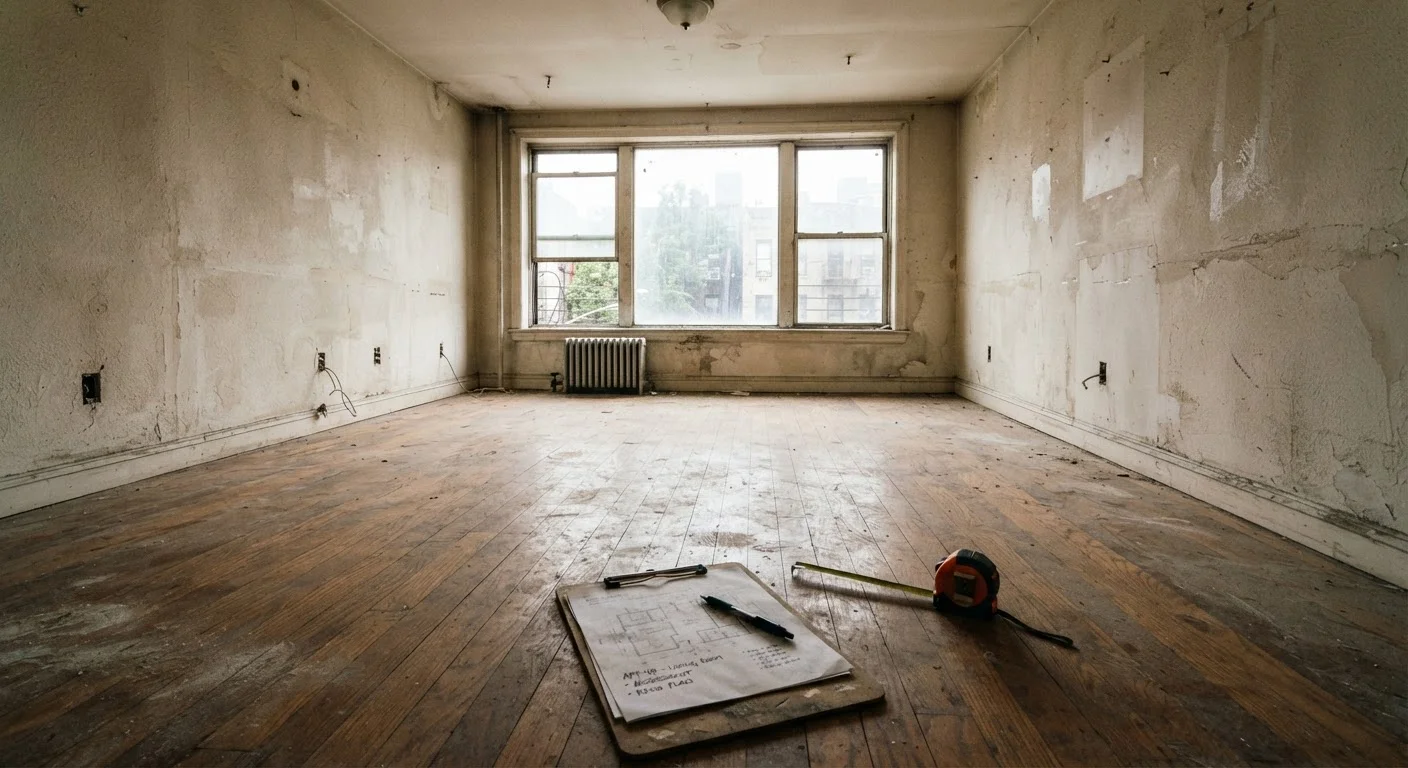
Photo credit: ResultsPoint.net | Find The Required Information
In this article
Walk through each room systematically to catch moisture, structural, and wiring concerns before they become mid-project surprises.
Key Takeaways
- Catching moisture, structural, and electrical issues before demolition begins can prevent budget-busting surprises.
- Every room has a distinct set of systems worth inspecting — treat each space as its own mini-project.
- Some findings will require a licensed professional before work can proceed safely or legally.
- Documenting existing damage with photos creates a clear baseline for contractors and permits.
- A thorough pre-renovation assessment helps you build a more accurate scope and budget.
Why a Pre-Renovation Assessment Pays Off
Most renovation cost overruns don't come from bad taste in tile — they come from what turns up inside the walls. A leaking pipe discovered after flooring is laid, knob-and-tube wiring found once drywall is torn out, or a sagging joist hidden beneath carpet: these are the findings that double timelines and bust budgets.
Walking through each room before you finalize a scope or sign a contract gives you two things: a realistic picture of what you're actually dealing with, and leverage to ask the right questions. If you're still at the planning stage, the full renovation planning overview covers how to move from assessment to execution once you have your findings in hand.
Use this checklist room by room. Bring a flashlight, a notepad, and your phone for photos. Mark items as clear, needs monitoring, or needs professional evaluation — and resist the urge to skip anything just because it looks fine on the surface.
Flashlight or headlamp
Illuminate dark corners, crawl spaces, attic spaces, and under-sink areas where issues hide.
Notepad and pen
Record findings room by room with notes on location, severity, and whether professional evaluation is needed.
Smartphone with camera
Photograph every flagged area with something in-frame for scale to create a documented baseline.
Moisture meter
Measure moisture content in walls, floors, and wood framing to detect hidden dampness before surfaces are opened.
Outlet tester
Quickly check whether outlets are properly grounded and wired without specialized electrical knowledge.
Tape measure
Document room dimensions and the size of any cracks, gaps, or damaged areas for contractor reference.
How to Work Through the Checklist
Start at the top of your home and work down — attic first, then upper floors, main level, basement or crawl space last. Moisture and structural problems often originate above where symptoms appear, so this sequence helps you trace issues to their source rather than treating symptoms.
For each room, check the five core systems: moisture and water intrusion, structural integrity, electrical, ventilation, and surface conditions. The checklist groups below follow that logic. Flag anything that's unclear for a licensed inspector, electrician, or structural engineer before demolition begins — some findings may also trigger permit requirements in your municipality. When in doubt, verify local building codes with your city or county building department.
Moisture & Water Intrusion
Structural Integrity
Electrical Systems
Ventilation & Insulation
Kitchen & Bathrooms
Surface & Finish Conditions
Once you've completed your walkthrough, hidden water damage is one of the trickiest findings to interpret. The early indicators of water intrusion article can help you distinguish a cosmetic stain from a serious ongoing problem.
Hazardous Materials Require Licensed Professionals
If your home was built before 1980, do not sand, scrape, or demolish surfaces before testing for lead paint and asbestos. Disturbing these materials without proper precautions creates serious health hazards. Contact a certified inspector or abatement contractor before any demolition work begins — this is not a DIY step.
What to Do With Your Findings
Once you've completed each room, sort your notes into three buckets: items you'll address as part of the planned renovation, items that need professional evaluation before the project can proceed, and items that fall outside the current scope but should be scheduled separately.
Photograph every flagged area with something in frame for scale — a coin, a tape measure, a hand. These images protect you if there's any dispute with contractors about pre-existing conditions, and they're useful context for permit applications.
Not every improvement you're planning has equal return. Understanding whether a project protects existing value or actively increases it changes how you prioritize findings — the guide to value maintenance vs. value creation walks through how to think about that distinction. And if kitchen work is part of your plan, familiarize yourself with why kitchen renovations tend to expand in scope — many of the triggers are things this assessment will help you spot early.
Don't Skip the Permit Question
Many renovation projects — including electrical panel upgrades, structural wall removal, and bathroom additions — require permits in most US jurisdictions. Starting work without the required permits can result in fines, forced removal of completed work, and complications when you sell. Always confirm permit requirements with your local building department before work begins.

Author
Home Editorial Team
Home Editorial Team is the collective byline for our editorial team and contributor network. Articles published under this byline or an editorial pen name are researched, written, and reviewed according to our editorial standards for clarity, consistency, and independence before publication.
View all articles →